Microsoft Purview Insider Risk Management: A Setup Guide
Microsoft Purview · Insider Risk · Compliance · 2026
Most security incidents involving data loss are not the result of external attacks. They come from inside — an employee copying files before resigning, a contractor with over-broad access, or a compromised account operating quietly for weeks. Traditional DLP catches the exfiltration event. Insider Risk Management catches the pattern that leads to it.
Microsoft Purview Insider Risk Management correlates signals from across Microsoft 365 — file activity in SharePoint, email behaviour, Teams messages, and browsing on managed devices (where indicators are configured and Defender for Endpoint is integrated) — and surfaces sequences that match known risk patterns. It does this without exposing individual activity to broad audiences, using pseudonymisation by design. This guide covers the full setup: licensing, prerequisites, the privacy model, policy creation, indicator configuration, and the alert-to-case workflow.
How Insider Risk Management works
IRM operates as a correlation engine. It ingests activity signals from Microsoft 365 services, scores them against the indicators defined in your policies, and when the cumulative risk score for a user crosses a threshold, it generates an alert. The workflow runs left to right:
M365 activity
template + indicators
cumulative
triage queue
investigation
Signal sources
IRM pulls signals from multiple Microsoft 365 services. The primary sources are SharePoint Online and OneDrive (file downloads, sharing activity, deletions), Exchange Online (email forwarding rules, attachments sent externally), Microsoft Teams (message content in some scenarios), Microsoft Defender for Endpoint (browsing activity, USB device events), and HR data via the HR connector (resignation dates, performance improvement plans, disciplinary actions). The HR connector is optional but significantly improves the quality of departure-related policies.
Triggering events
Not all signals contribute to risk all the time. IRM uses triggering events to activate a user for scoring within a policy. For a data theft by departing employees policy, the triggering event is typically a resignation date from the HR connector, or a user manually added to the policy scope. Until the triggering event fires, IRM does not score the user's activity against that policy — this reduces noise from day-to-day normal behaviour.
Licensing
IRM is a premium capability. It is not included in Microsoft 365 Business Premium, E1, E3, or F3. If your tenant does not have the required licence, navigating to Insider Risk Management in Microsoft Purview will show a trial activation page rather than the dashboard. Always verify the current Microsoft 365 compliance licensing guidance before rollout — licensing details change and the official tables are the authoritative source.
| Licence | IRM included? | Notes |
|---|---|---|
| Microsoft 365 E5 | Yes | Full IRM included, no add-on required |
| Microsoft 365 E5 Compliance | Yes | Add-on to eligible base licensing — verify current Microsoft licensing guidance |
| Qualifying Purview compliance add-ons | Yes | Verify current eligibility in the Microsoft licensing guidance linked above |
| Microsoft 365 E3 | No | Requires M365 E5 Compliance or an equivalent qualifying add-on |
| Microsoft 365 Business Premium / F3 | No | IRM is an enterprise-tier capability, not available in Business or Frontline plans |
Prerequisites
Before creating any IRM policies, three prerequisites must be in place. Skipping them means policies will run but generate incomplete or no alerts.
IRM requires the Microsoft 365 unified audit log to be enabled. Navigate to Microsoft Purview → Audit and confirm that auditing is turned on. In most tenants this is already active, but in older tenants or development environments it may have been disabled. Without audit log data, IRM cannot ingest the signals it needs to score user activity.
IRM uses its own role groups in Microsoft Purview. The key roles are: Insider Risk Management (full access — configure policies, review alerts, manage cases), Insider Risk Management Analysts (triage alerts and manage cases but cannot configure policies), and Insider Risk Management Investigators (full case access including content review and eDiscovery export). Assign these via Microsoft Purview → Roles & scopes → Role groups. Do not use Global Admin for day-to-day IRM work — the separation of duties is intentional.
The HR connector imports resignation dates, performance data, and job change events from your HR system into Microsoft 365. This data is used as a triggering event for departure-related policies. Without it, you must manually add users to policies or rely on less precise triggering events. Set up the connector via Microsoft Purview → Data connectors → HR. The connector supports CSV-based imports and direct API connections to common HR platforms.
Privacy model: pseudonymisation by design
IRM is built with a deliberate privacy control that distinguishes it from most monitoring tools: user identities are pseudonymised by default across all views — alerts, cases, activity explorer, and reports. Investigators see anonymised labels like AnonymousUser1 instead of real names and email addresses.
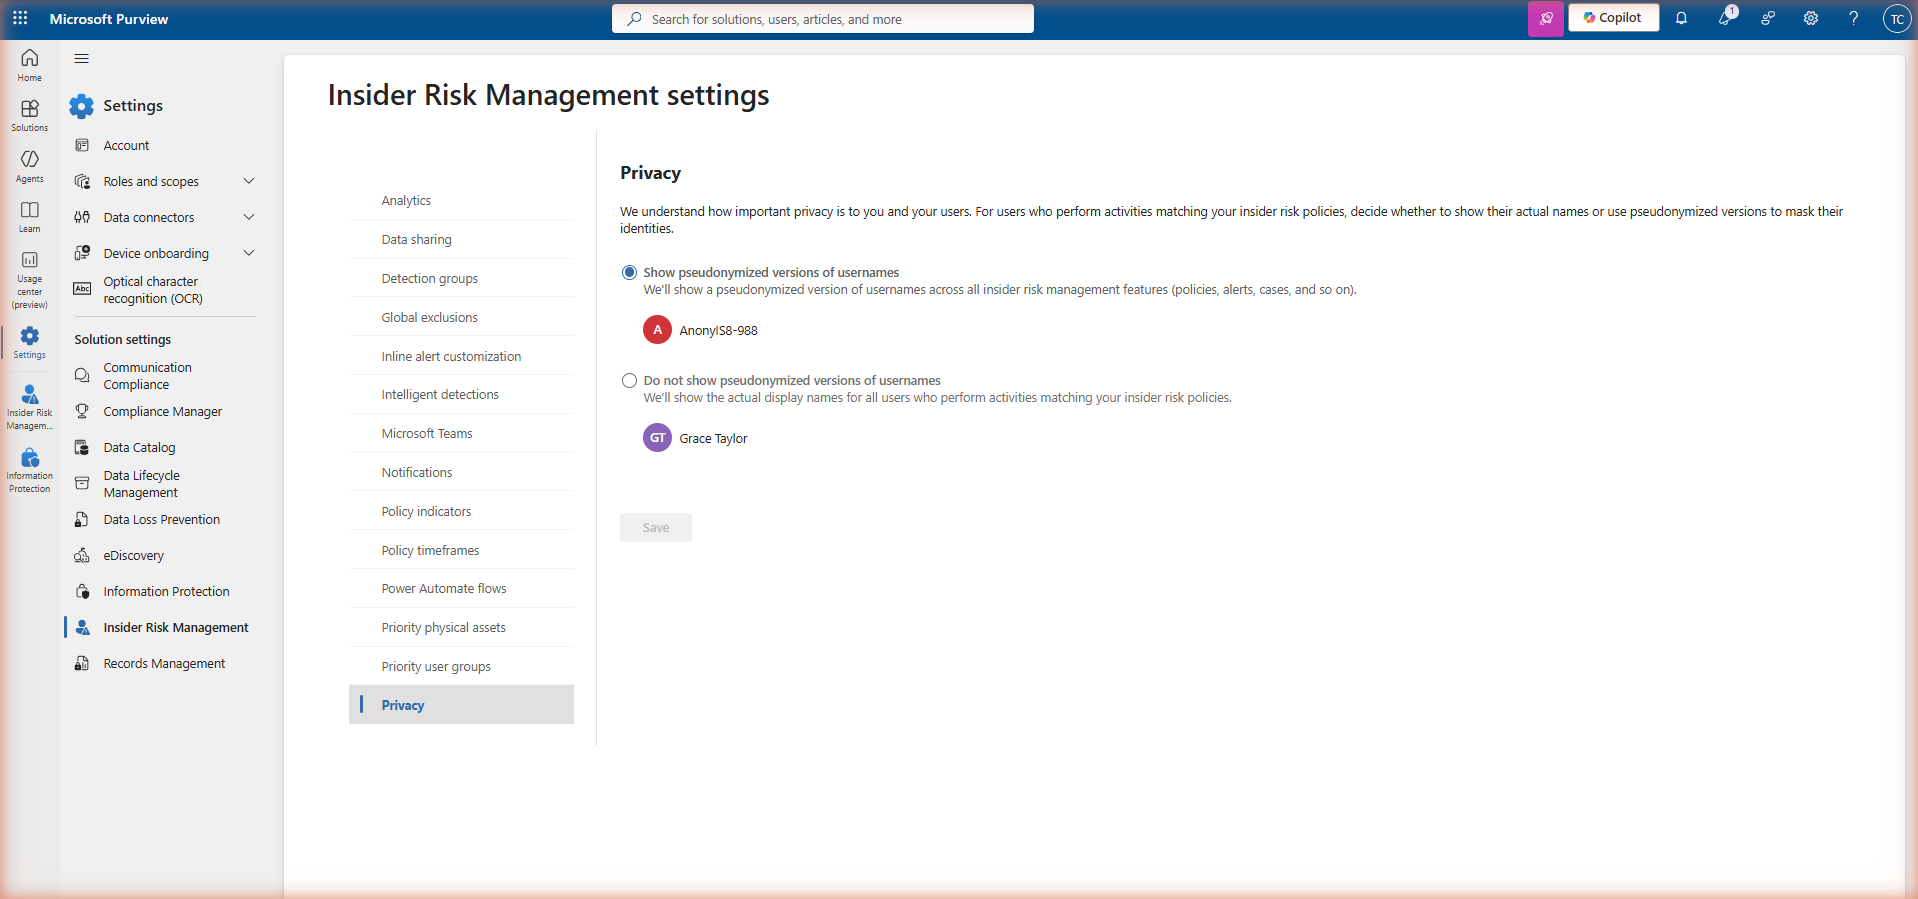
To reveal a pseudonymised identity, an investigator with the Insider Risk Management Investigators role opens the relevant case and uses the Confirm identity action. This action is logged in the IRM audit log — every identity reveal is recorded with the reviewer's account, timestamp, and the case it was performed in. This creates an auditable chain of custody for sensitive identity disclosures.
Policy templates
IRM ships with a library of built-in policy templates, each representing a specific insider risk scenario. Templates determine which triggering events and indicators are pre-selected when you create a policy — you can customise from the template baseline but cannot start entirely from scratch. Choose the template that matches the risk scenario you want to address first.
| Template | Risk scenario | Typical triggering event |
|---|---|---|
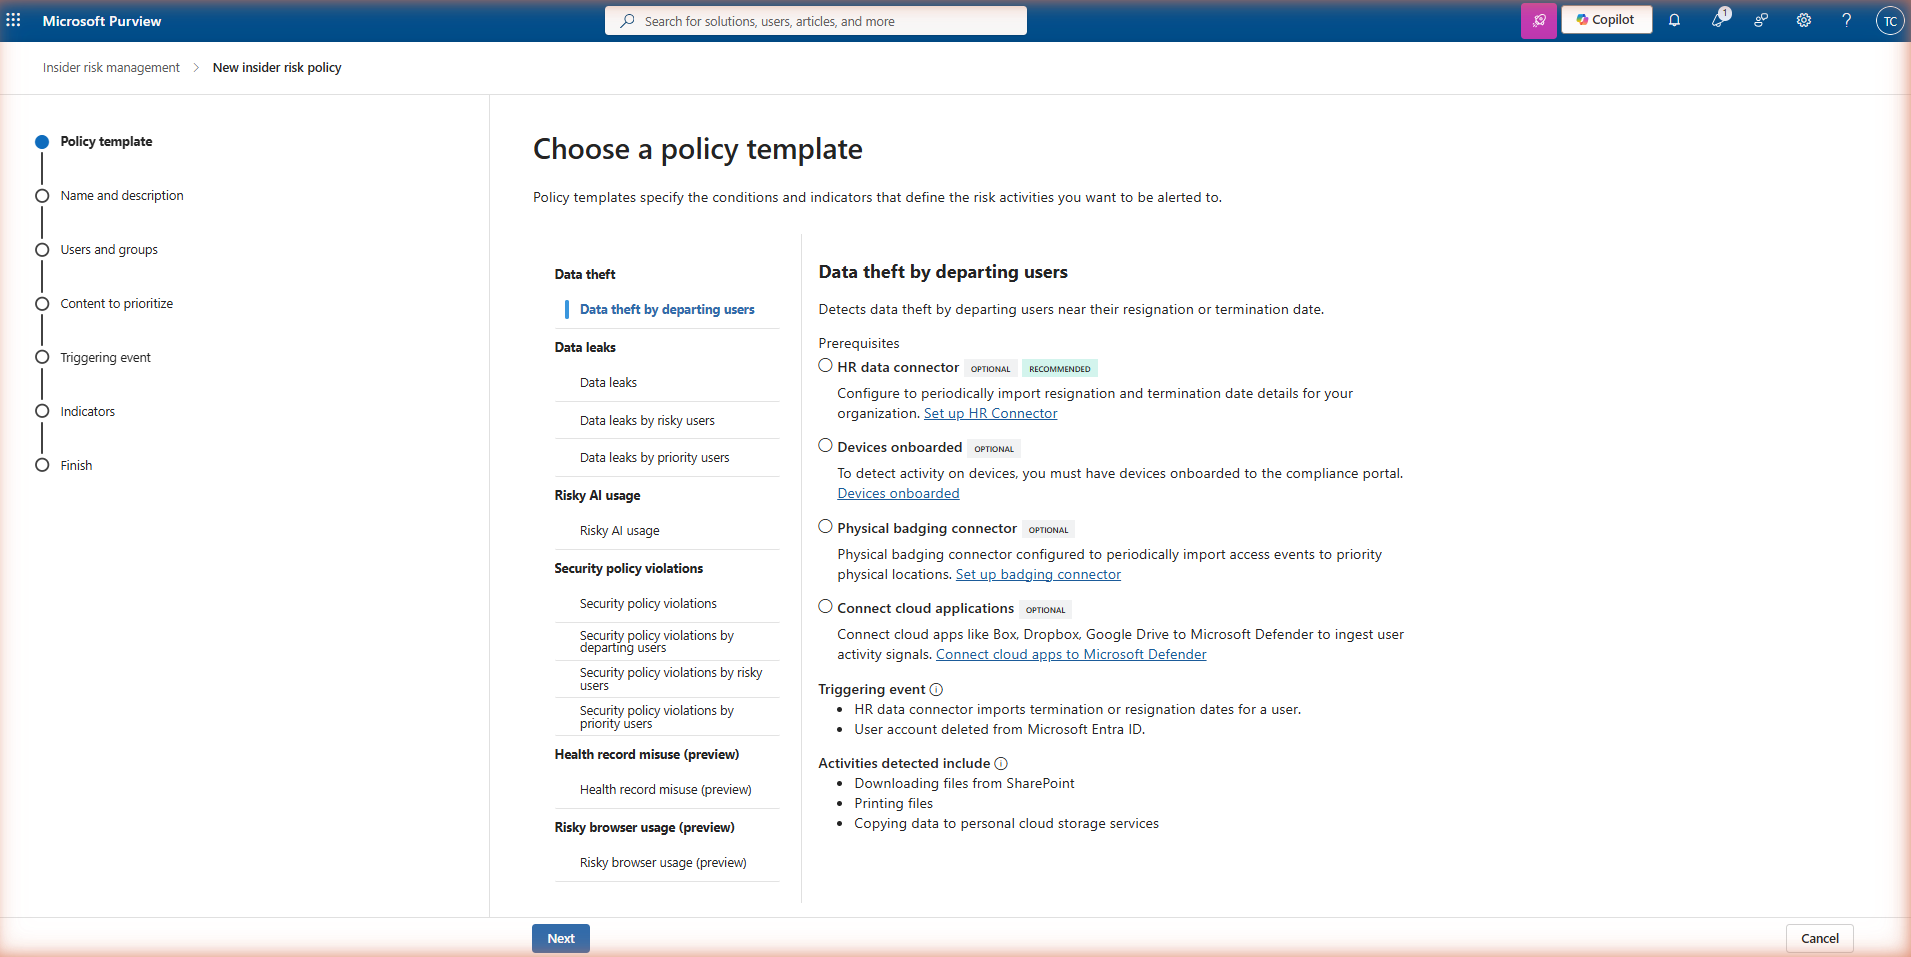
| Data theft by departing employees | Files copied, downloaded, or shared in the period around a resignation or termination | Resignation date from HR connector; manual user addition |
| Data leaks | Sensitive content shared externally, uploaded to unapproved cloud services, or printed | DLP policy match; high-risk SharePoint activity |
| Data leaks by priority users | Same as data leaks but scoped to a defined group of high-value users (executives, finance, IP holders) | Any risky activity — always-on for priority users |
| Security policy violations | Disabling antivirus, installing unapproved software, removing security agents from managed devices | Microsoft Defender for Endpoint alerts |
| Risky browser usage | Browsing to sites associated with data exfiltration, hacking tools, or competitor intelligence | Defender for Endpoint browsing signals (Edge/Chrome on managed devices) |
| Patient data misuse | Healthcare-specific: access to patient records beyond normal scope, especially when combined with departure signals | HR connector; EMR/EHR system connector |
| General data leaks | Broad detection: any significant data movement that could indicate leakage, without requiring a specific trigger | Volume-based thresholds on file activity |
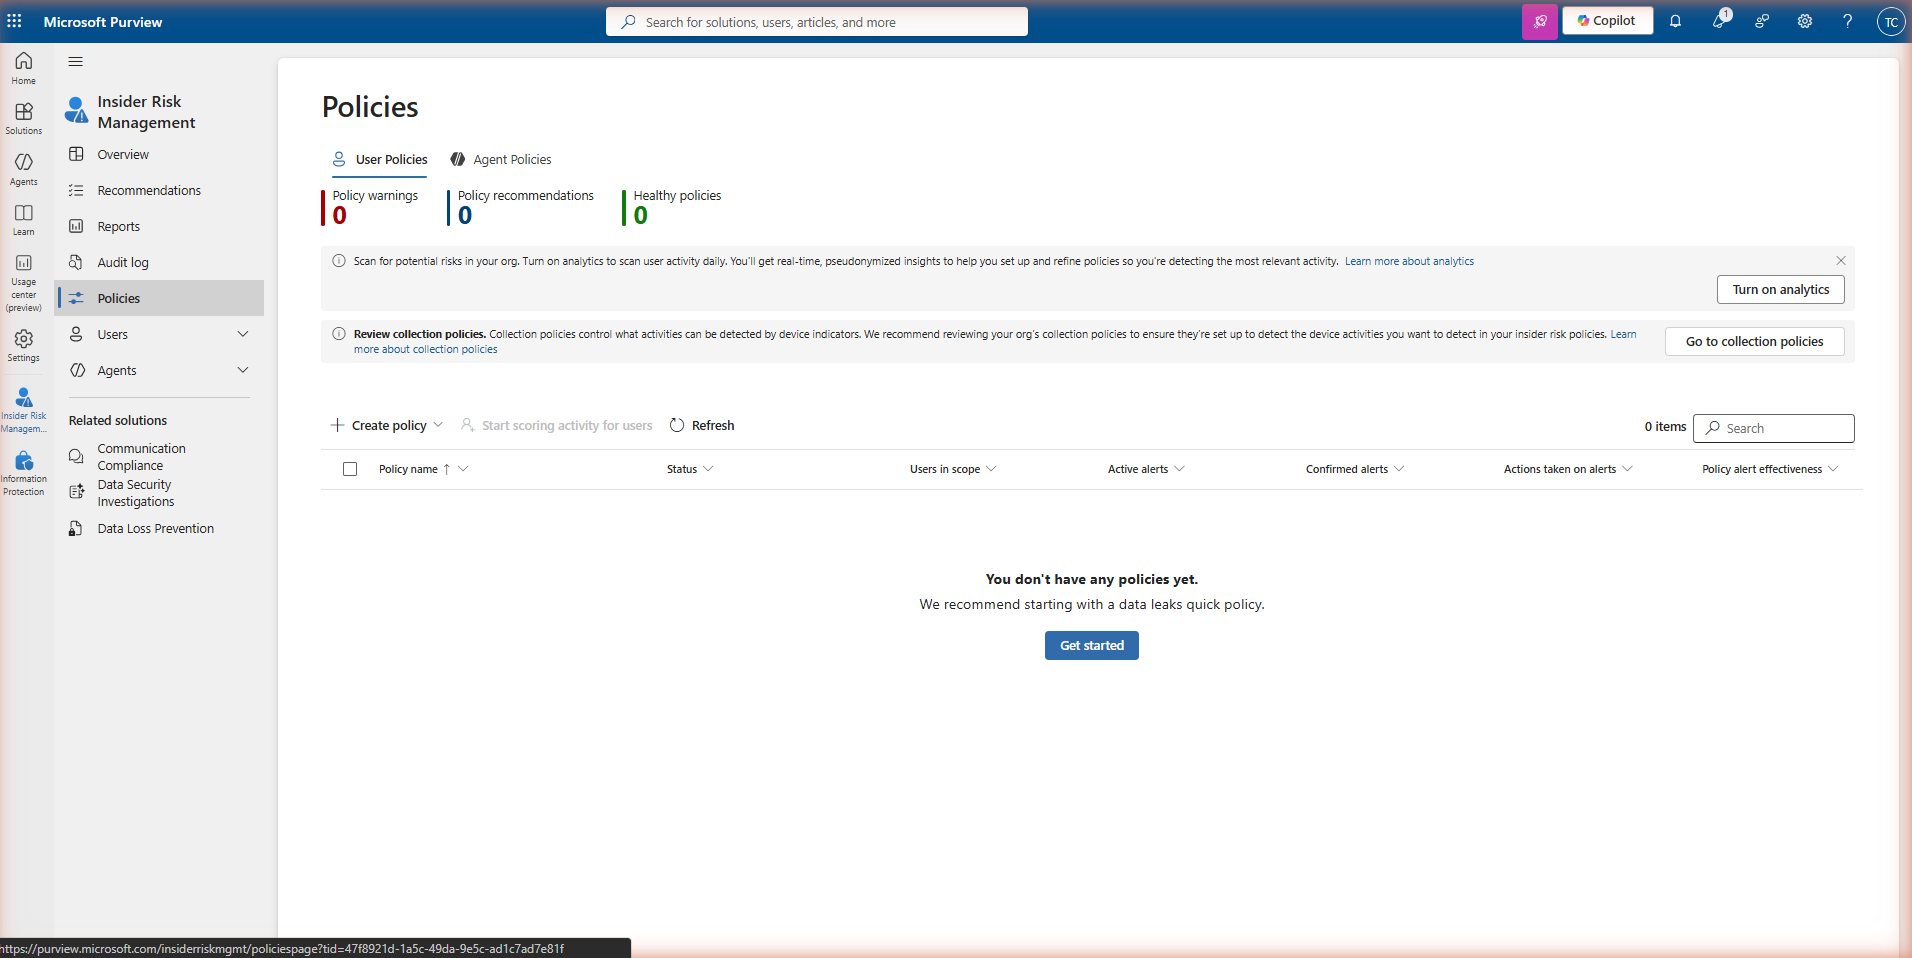
Creating a policy
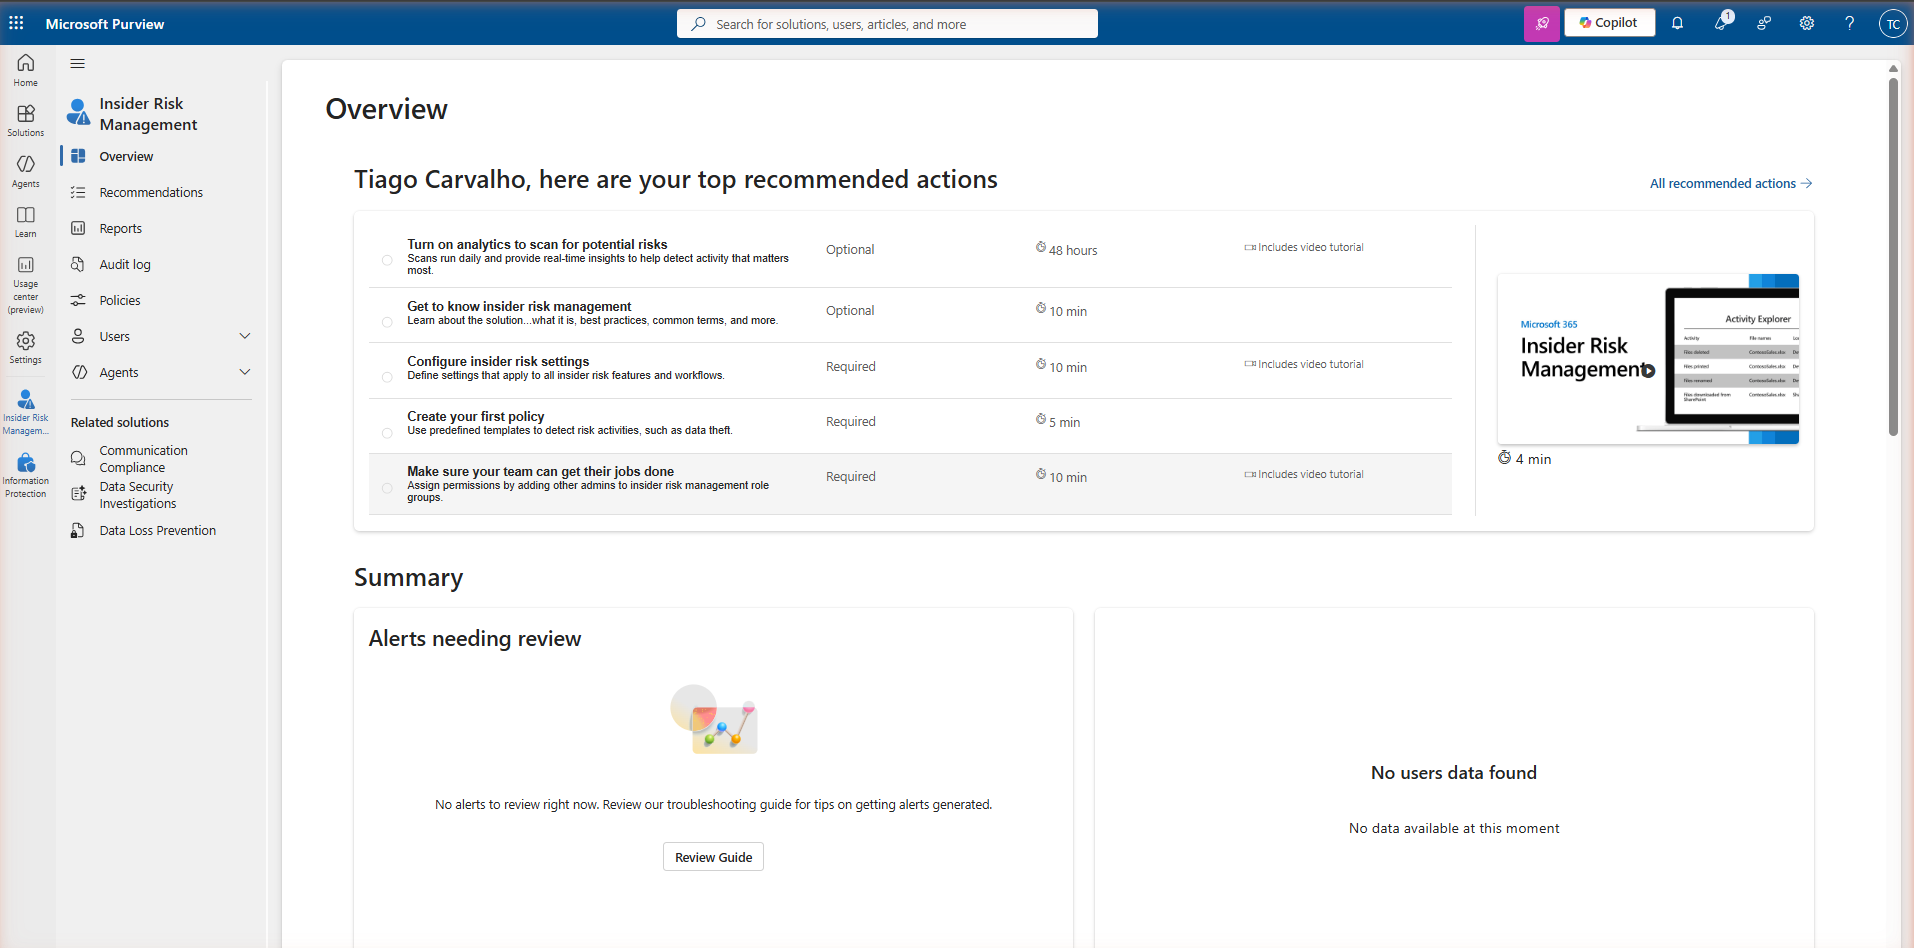
Navigate to Insider Risk Management → Policies and click + Create policy. The wizard has five steps.
Step 1 — Choose a template
Select the policy template that matches your risk scenario. Each template shows a description of the risk pattern it detects and the types of signals it uses. Hover over each template to see the full description before selecting.
Step 2 — Name and description
Give the policy a clear name that identifies the template and scope — for example, IRM-DepartingUsers-IT or IRM-DataLeaks-Finance. The name is visible to all IRM administrators and appears in alert and case details. A consistent naming convention is important when you have multiple policies active.
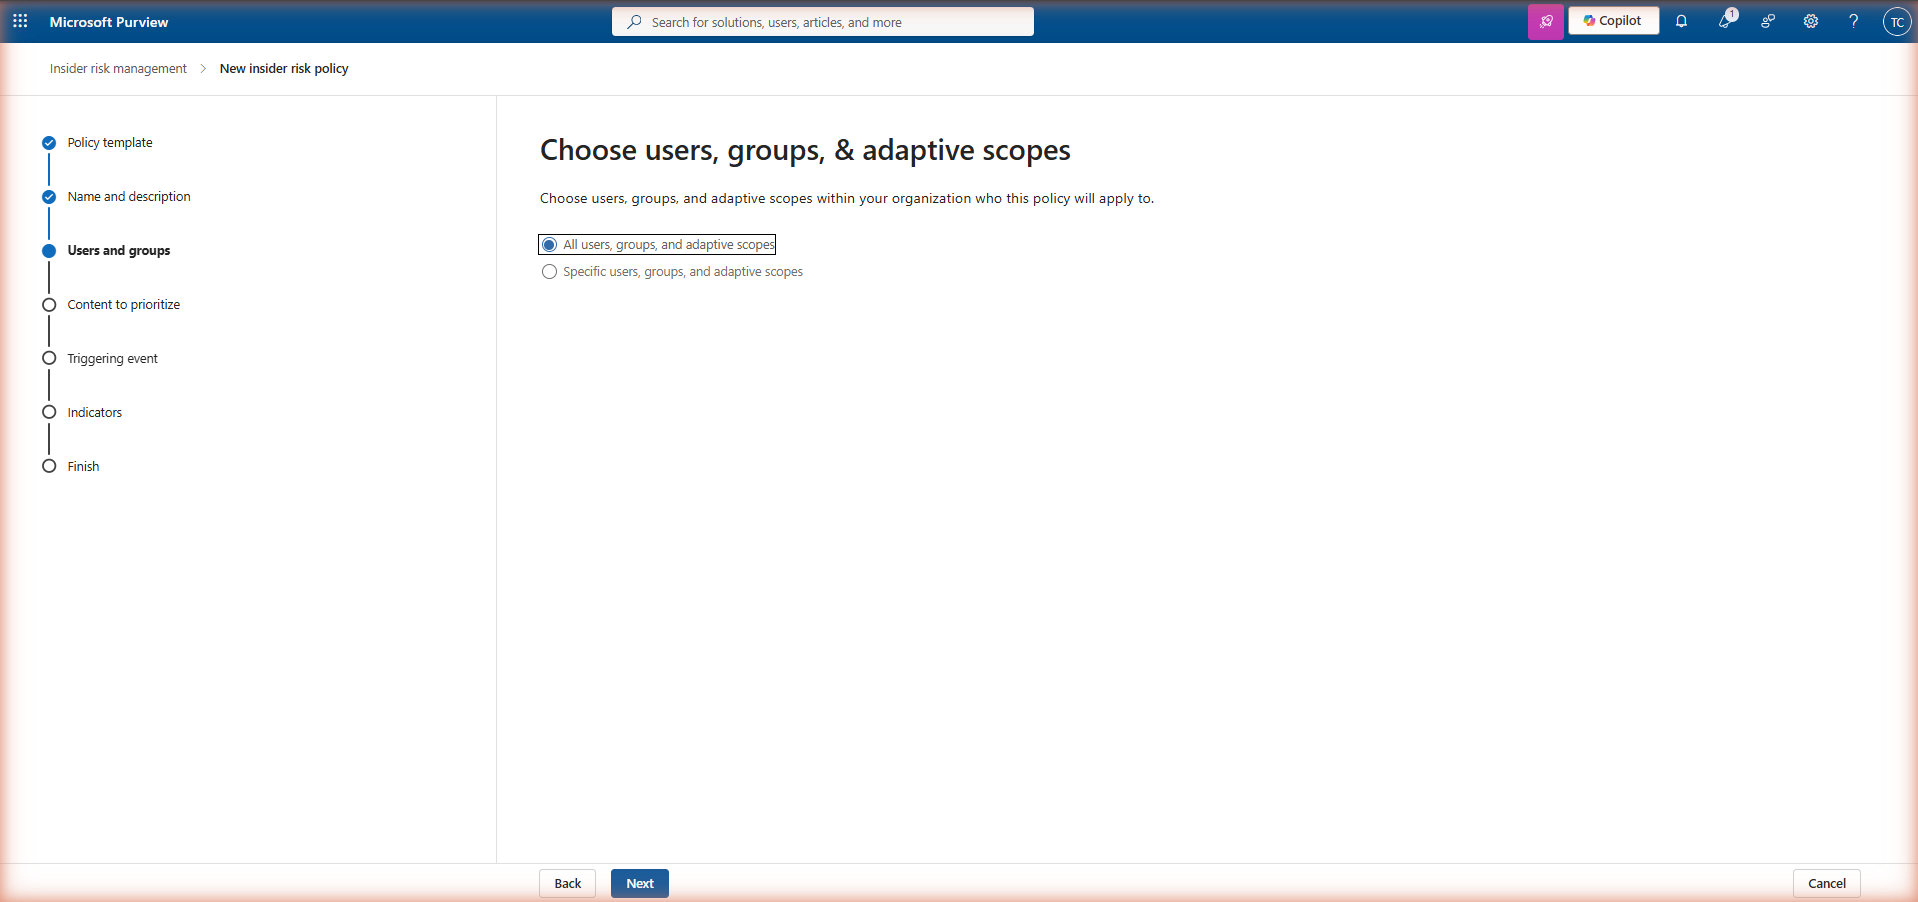
Step 3 — Users and groups
Define which users the policy monitors. You can scope to all users in the tenant, specific security groups, or a defined list of individual users. For departure-related policies, leave the scope broad if you have the HR connector providing triggering events — the policy only activates scoring for users who match the triggering event (resignation date), not all users in scope. For priority user policies, define the group explicitly.
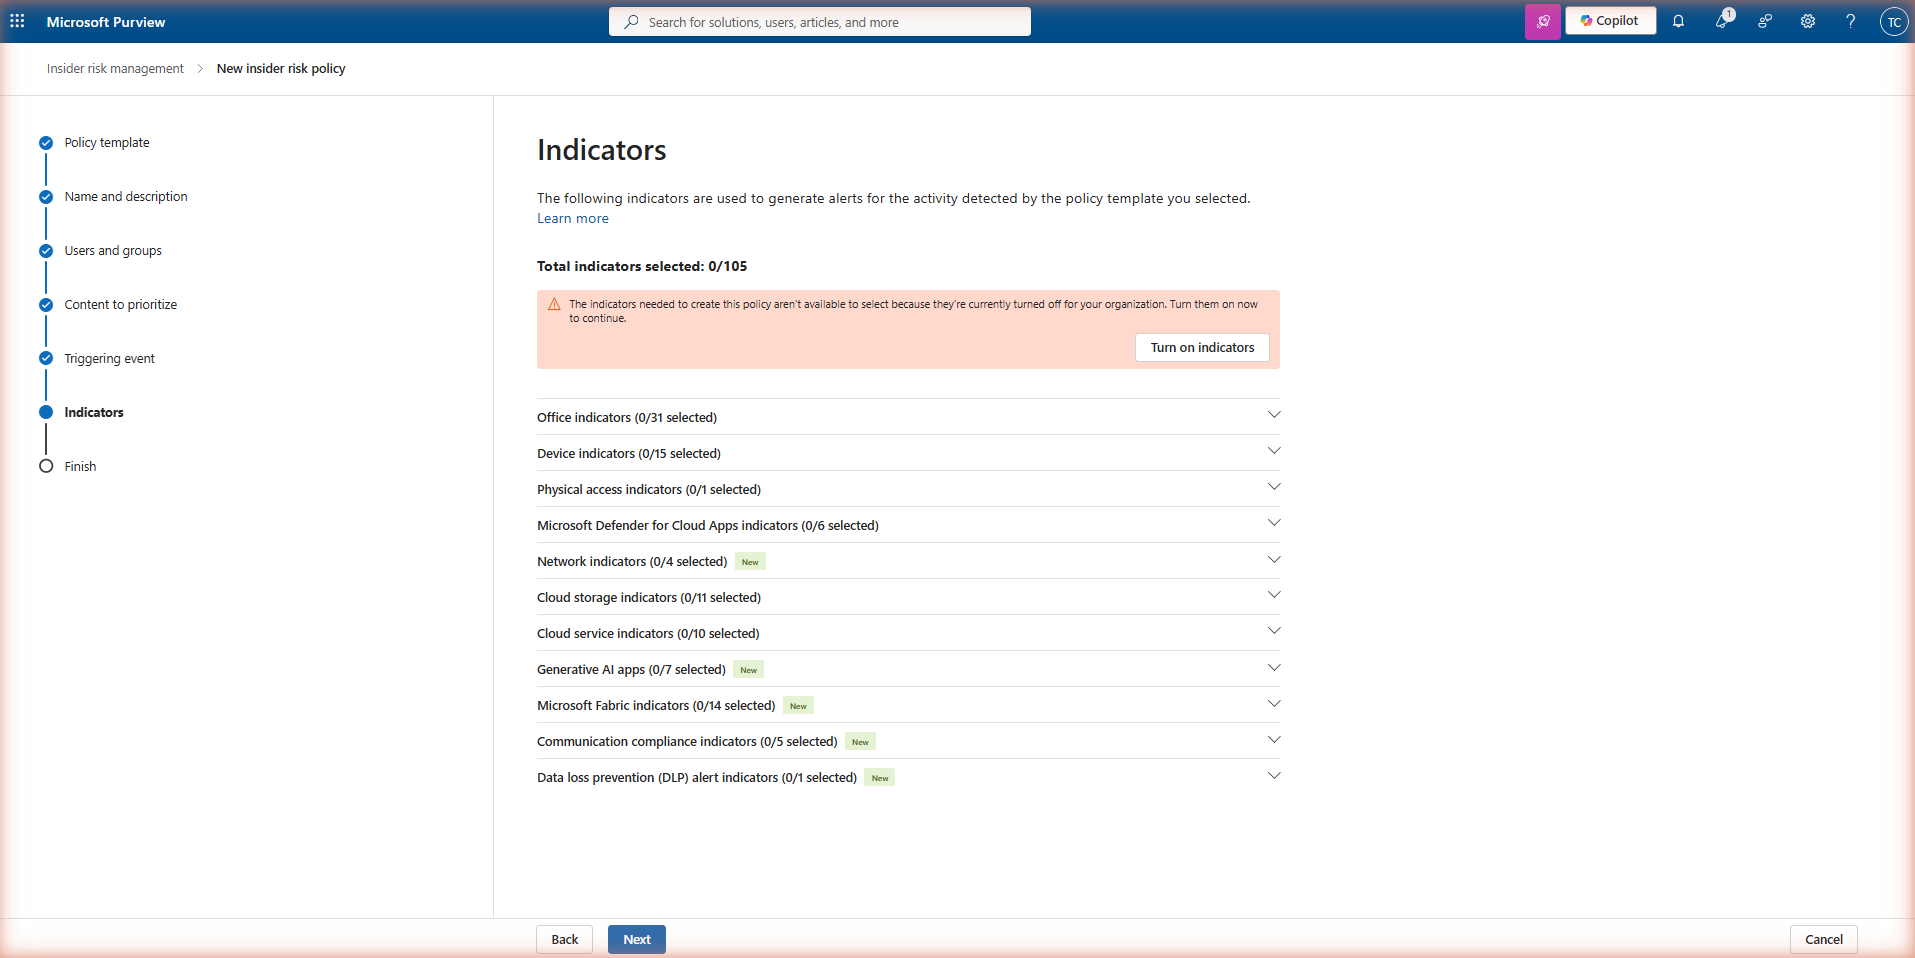
Step 4 — Policy indicators
Indicators are the individual signals that contribute to a user's risk score under this policy. Each template pre-selects a recommended set. You can add or remove indicators, but note that indicators from data sources you have not configured (for example, device indicators without Defender for Endpoint) will produce no signal even if selected.
Step 5 — Review and finish
Review the policy configuration and click Submit to create it. The policy enters an active state immediately, but allow 24–48 hours before expecting to see alerts — IRM needs time to build a baseline of normal activity before scoring deviations. Alerts will not appear for historical activity before the policy was created.
Indicators and thresholds
Indicators are configured at two levels: globally in IRM Settings (which determines which indicators are available for selection in policies) and per-policy (where you choose which of those available indicators to include and set thresholds). Before creating your first policy, navigate to Insider Risk Management → Settings → Policy indicators and enable all the indicator categories you intend to use across your policies.
Threshold types
Each indicator has a threshold that determines how much of that activity is required before it contributes meaningfully to a risk score. IRM offers two threshold models. Microsoft-recommended thresholds use data from across the Microsoft 365 ecosystem to set sensible defaults — these are a good starting point. Custom thresholds let you specify exact counts per day or per event window. If your organisation has atypically high file activity in a particular team (for example, a file migration in progress), custom thresholds can prevent that team from generating false positive alerts during the migration period.
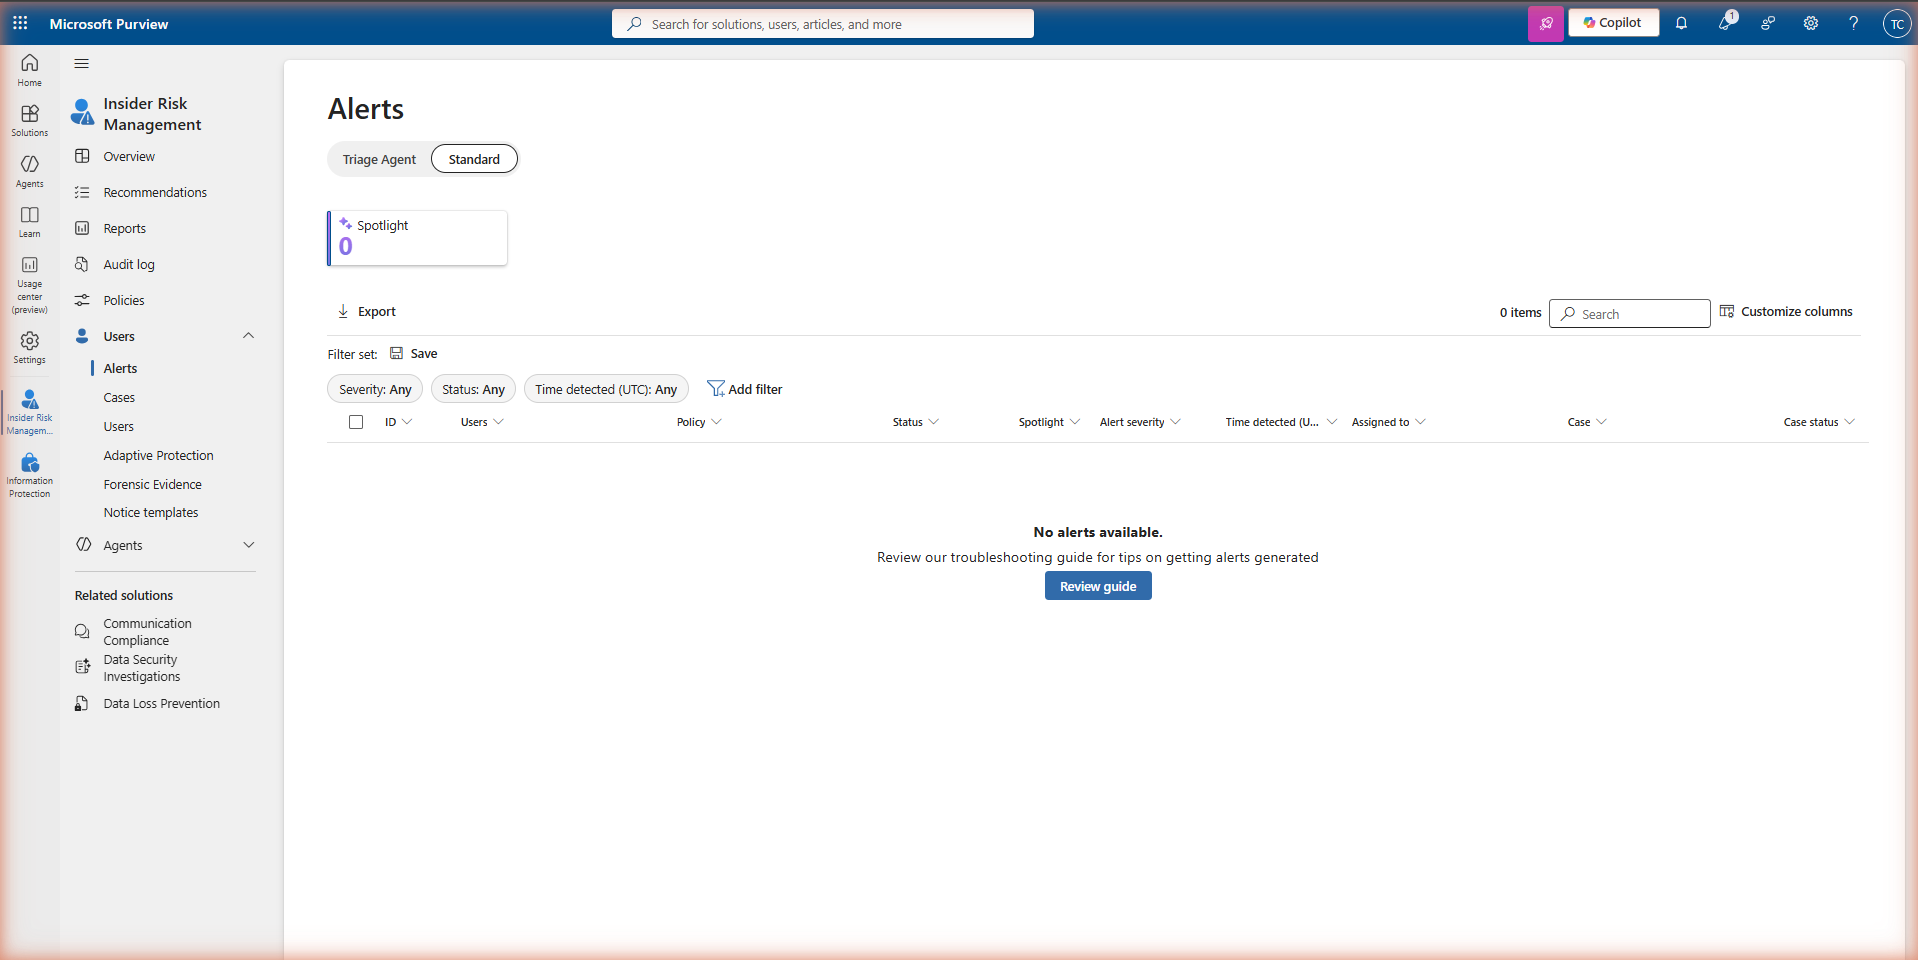
Triage: the alert queue
When a user's cumulative risk score crosses the alert threshold defined by the policy, IRM generates an alert and places it in the alert queue. Navigate to Insider Risk Management → Alerts to review the queue.
Alert severity
Alert severity is calculated by IRM based on the type and volume of indicators that contributed to the risk score. High severity alerts represent sequences with a strong correlation to a known risk pattern — multiple high-weight indicators firing in a short time window. Medium severity indicates moderate risk signal that warrants review. Low severity alerts are informational and often the result of a single indicator threshold being crossed without supporting context. In the early weeks of a new policy, expect a higher proportion of low and medium alerts as baselines are being established.
Alert triage actions
Each alert can be acted on in three ways. Confirm alert escalates it to a case for formal investigation — use this when the alert represents a genuine risk pattern that requires deeper review or action. Dismiss alert closes it with a reason (false positive, expected activity, insufficient evidence) and records the dismissal in the audit log. Send for review allows the alert to be routed to another analyst or escalated to a manager without immediately confirming or dismissing it.
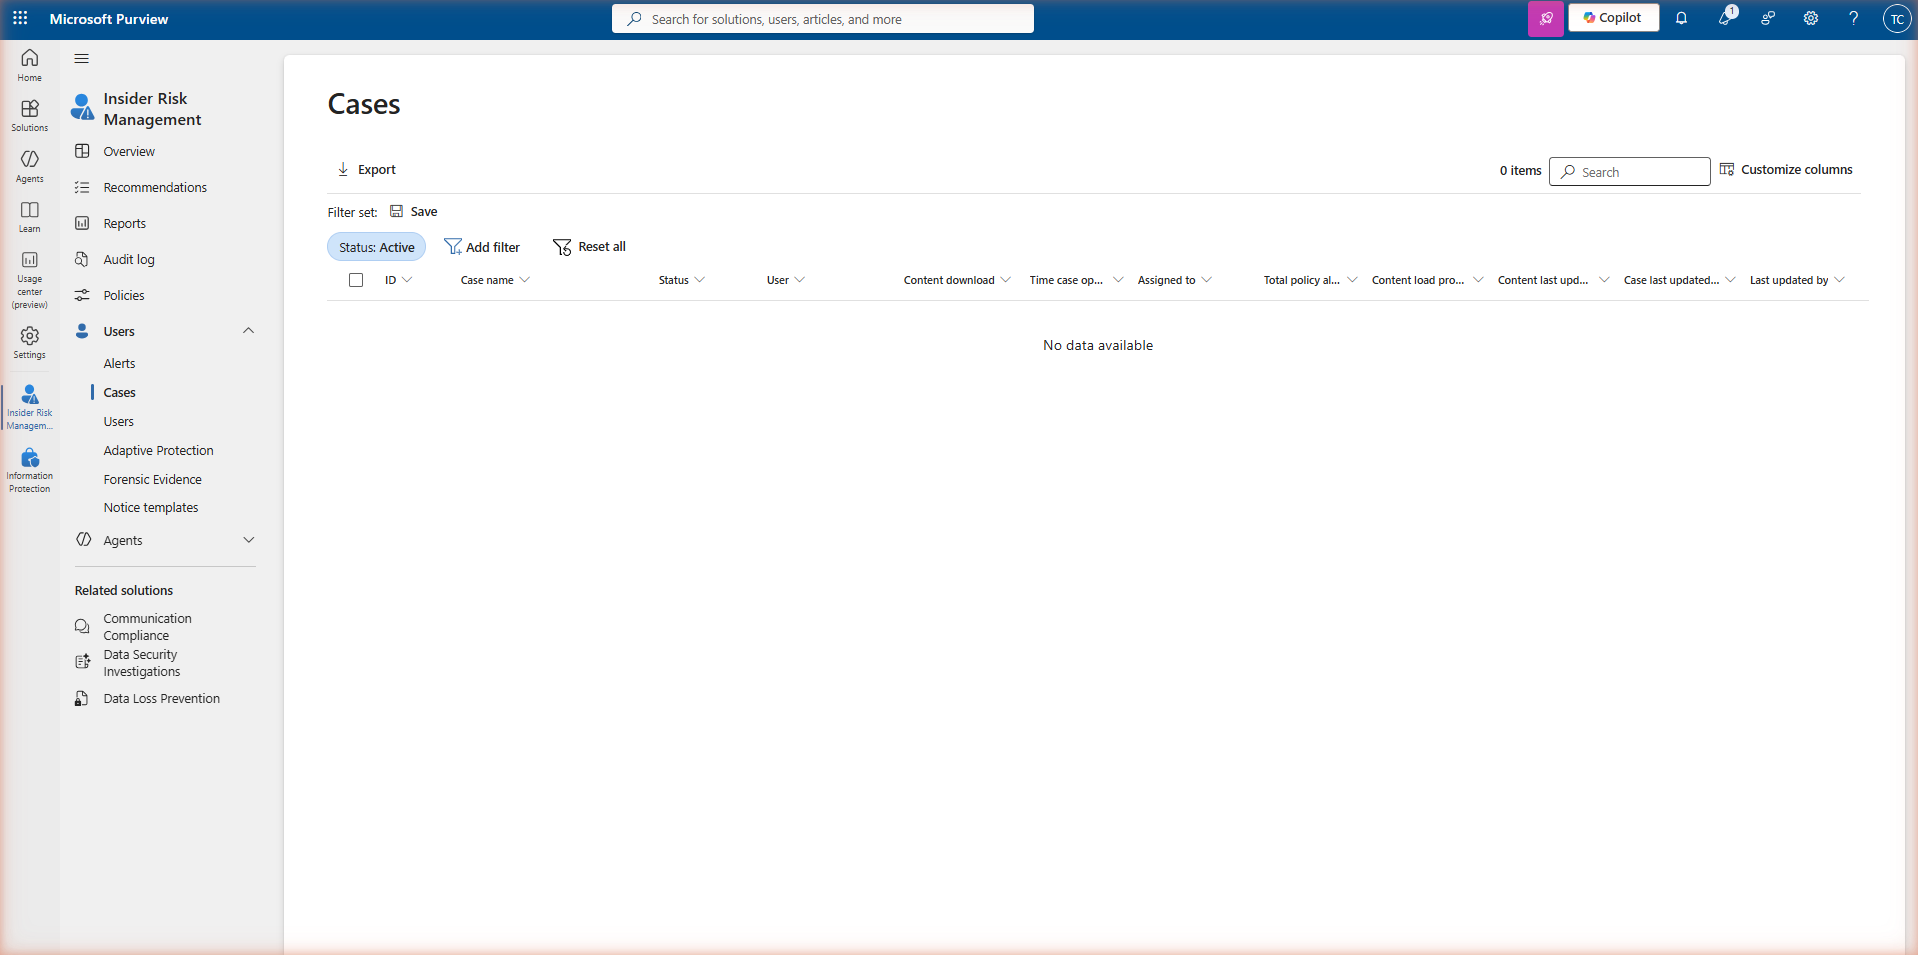
Escalation: case investigation
When an alert is confirmed, IRM creates a case. Cases are the formal investigation record — they capture all activity associated with the user during the risk window, allow investigators to add notes and evidence, and support escalation to legal, HR, or eDiscovery if required.
What a case contains
A case provides a consolidated view of everything IRM has captured about the user during the risk window: the activity timeline with individual signal events, the risk score history showing how the score evolved, user activity summaries by content type, and any related alerts from the same or other policies. Investigators can also access Content explorer within the case to review the actual files that were involved — subject to having the appropriate role (Investigators, not Analysts).
Escalation paths from a case
IRM cases support several escalation paths without leaving the Purview portal. eDiscovery Premium allows you to export the case evidence into a formal legal hold and review set. Notice templates allow you to send a compliance notice directly to the user from within the case — useful for policy violation scenarios where the intent is corrective rather than punitive. Case sharing allows designated HR or Legal contacts to be given read access to specific cases without granting them access to the full IRM solution.
Deployment checklist
-
Verify IRM licence assignment Confirm that M365 E5, M365 E5 Compliance (with eligible base licensing), or a qualifying Purview compliance add-on is assigned to users in scope. Navigating to IRM without the licence shows the trial page — not the dashboard.
-
Confirm unified audit log is enabled Go to Microsoft Purview → Audit and verify auditing is active. Without it, IRM cannot ingest file, email, or Teams signals. Most production tenants have this enabled, but verify before proceeding.
-
Assign IRM role groups — do not use Global Admin Create at least two role group assignments: IRM Administrators for policy configuration, and IRM Analysts or Investigators for alert and case review. Keeping these separate is a deliberate privacy and compliance control.
-
Enable policy indicators in Settings before creating policies Navigate to IRM Settings → Policy indicators and enable every indicator category you plan to use. Indicators not enabled here will not appear in the policy wizard — a common source of missing signal coverage.
-
Configure the HR connector (for departure policies) Set up the HR data connector with resignation and termination date fields. This provides the triggering event that activates departure-related policies for specific users — without it, these policies must be manually triggered or rely on less precise proxies.
-
Integrate Defender for Endpoint (for device indicators) If your policies include browsing activity, USB device events, or executable launch indicators, Defender for Endpoint must be deployed and device onboarding must be complete. Enable the integration in IRM Settings → Microsoft Defender for Endpoint.
-
Review and document the privacy policy decision Decide whether pseudonymisation remains enabled (recommended) and document the decision. If disabled, ensure your organisation's privacy, HR, and legal teams have reviewed the implication — analysts will see real identities at the alert triage stage before a formal case is opened.
-
Start with one policy, tune for 30–60 days before expanding Begin with the policy template most relevant to your immediate risk concern. Review alert quality over 4–8 weeks, adjust thresholds to reduce false positives, and only then create additional policies. Alert fatigue from too many simultaneous policies is the most common failure mode in IRM deployments.
-
Establish an alert triage SLA Define how quickly alerts must be reviewed after generation — for example, High severity within 24 hours, Medium within 72 hours. Without a defined SLA, alert queues accumulate and the operational value of IRM degrades quickly. Assign clear ownership to the IRM Analysts role group.
Read the guide →